

HI THERE CHUMS!
In this post, I will show how I went around the process of creating a Tortoise!
Here's the concept above!

Firstly, working alongside Malvern Armatures, a the ball & socket armature was created, based on a drawing of the front and side view of the tortoise.


Once this was done and received in the post, I then set off with the sculpting! Here are the legs and body in the very early blocked out stages :)
As always, I sculpted in Super Sculpey Firm.

Here are the final legs of the tortoise, all clayed up and about to have plaster poured on to them! YAY
Sorry about the flipped photo!
let this one slip somehow...
Those of you who are observant, (which is all of you, well done, A*) may have noticed that the sculpt has little white toenails!
These were simply created in sculpey, baked and sanded. I then created a simple one part silicone mould around the sculpt, let that cure, and then I poured some Polyurethane resin into the mould, did this four times, which then gave me four completely identical toenails! WAHOO
Here's the mould (If you're interested)

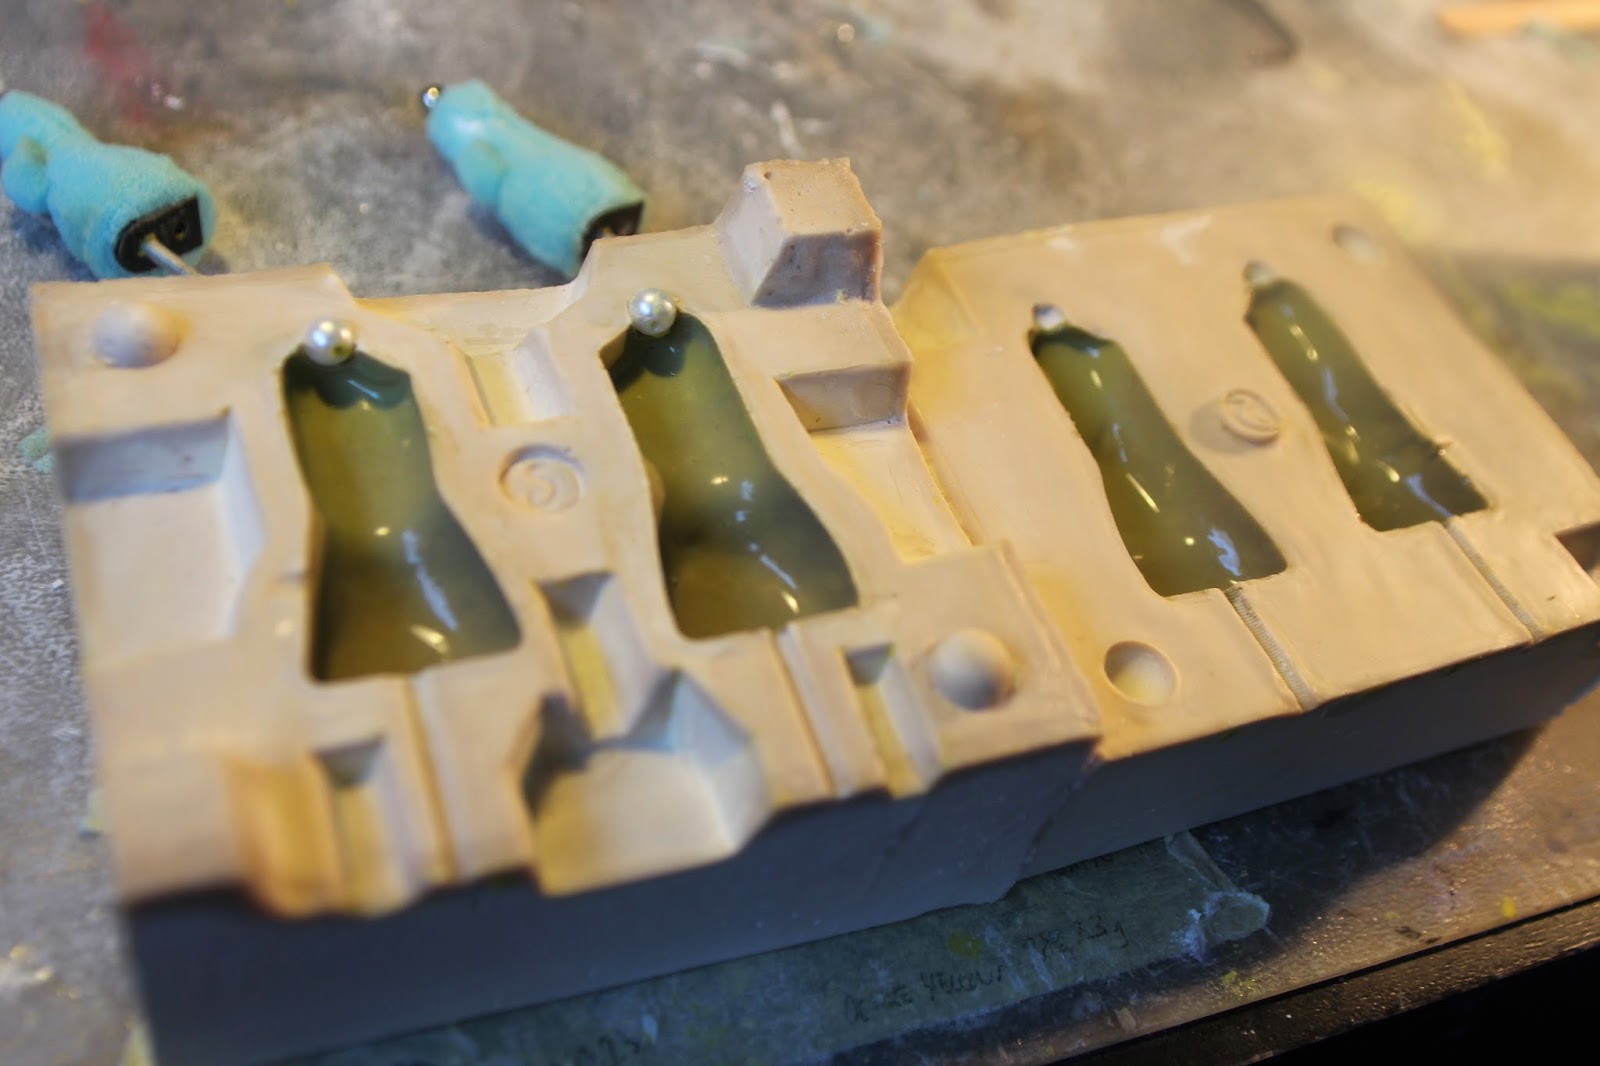
Here is the mould with the first layer of silicone inside.
What you might notice, Is that the silicone's colour changes toward the bottom, this was a design choice, I wanted the colour on all of the tortoise's limbs to kind of descend into a brownish green.
I've wanted to shade silicone with different colours for a long time now, preferably with a spray gun. As we know, skin is never just one colour, but seeing as this spraying technique is not 100% accessible to me at this time, I had to simply paint the colours in.


I then padded out the leg armature with a bit of upholstery foam. I fashioned the foam into the basic shape of the leg, making sure it was a little smaller than the original sculpt itself.
To assure maximum control over the armature, I also wrapped the joints (underneath the foam) in PTFE tape. This was to stop any silly silicone getting into the joint and messing up the animatability!


Here are the legs out of the mould, one with the plastic resin toe tails, and without.
Here the seam lines were pretty visible, but I did some extra seam removal and they ended up like the feet you see below!


To achieve this, I applied a very thin layer of silicone on top of the leg with a sponge-like material, this allowed me to further shade the limb. Then, along the seam line, I applied a slightly thicker layer of silicone, so any raise or crevice was erased.
Then, as the silicone cured and because tacky, I covered it in a light layer of talc and used sculpting tool to apply the predetermined texture.
I imprinted the texture onto the silicone that was curing and with a little luck, The seam line was gone completely! WAHOOO!
I then simply stuck the toenails into their sockets with some superglue and who's your uncle?
BOB, THATS WHO.
And that is how to make tortoise feet out of silicone!

Also, as promised, here's this post's picture of my doggy.
I call it, 'Can I haz biscuits'
Such a cute doggie!! Oh and I like your tortoise too :P Can't forget that!
ReplyDelete