Sunday 1 June 2014

WHAT JUST HAPPENED!?

Hello, its been a while!

Basically, since last time, I finished my characters, HERE THEY ARE!!


I also started animating my film, had my final hand in of University, did some work experience for the brilliant RASTAMOUSE T.v series, created a showreel containing some of my shots from said film, got nominated for the 'Best Stop Mo' category in my University's awards show, didn't win, but got a lot of amazing feedback from some very inspirational people. 
We then had a networking event after the show, and everyone was being really really complimentary, which is a lovely thing to happen! I was so flattered!

Here's a pic of the networking event!

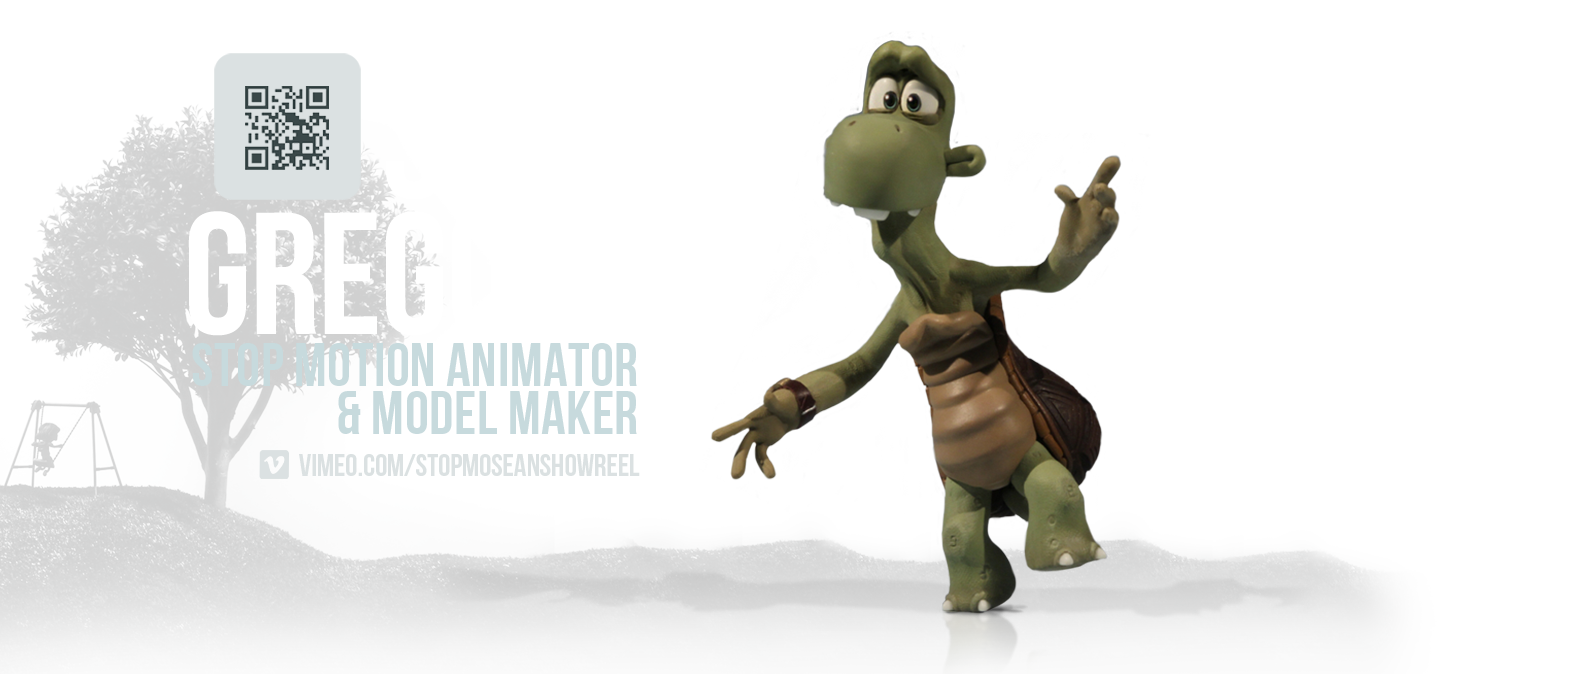
Also, I printed off 50 business cards and I now have 4…

Whut...

Anyways, I shall be uploading my showreel soon! So keep an eye out!!

But for now, here are some stills to wet your animationy appetite!


I was also lucky enough to have my work displayed in the university's graduate show. This year the theme was 'Flourish'.

SO anyway, My puppets and set were put up whilst all our year's work was shown on a big screen/around the room.


Here's my work on the wall!


And here's my puppets and set in the show. Right under the projector! AHH


Shameless self promotion at its finest!


We then moved the characters to a glass cabinet for the weekend!


AWH They're friends really!


Here's James' and George's puppets in the case too!

Yay! See you soon everyone! Showreel next!

Tuesday 13 May 2014

LET'S MAKE A TORTOISE PART 4 - THE HEAD!


 Today I'm blogging about how I created my Tortoise's head! Here's a picture of him with a bike helmet on.


Firstly, to get an idea of what I wanted to do, I created a test sculpt whilst I was in the pre production stages of my idea. Here is a very basic sculpt in Sculpey. Once I did this, I went about sculpting the final.
I created a balsa wood core (to help with the weight) and then firstly started with the eyes.


To create the eyes, I sculpted the two shapes I wanted in Sculpey, baked it in the oven, sanded it and the suspended it on the top of a plastic syringe. I then encased that in silicone and I then had a mould! WOO

I poured plastic resin in said mould, and it came out like these above!


I then sprayed a lacquer on top of the eyes to make them shiny! The eyes were put under a heat lamp to set.


SO HOT.


This is how they came out!


I also did the same with the teeth. I sculpted, baked, sanded, suspended, made a silicone mould and then poured in plastic resin. 
Here's the final outcome in the Tortoises' head. 


I also created a little mouth to stick on the side of the face, this was made by creating a plaster mould of some rounded K&S .  Here it is below...


 Looks a bit worn out! But basically, I placed an armature inside, with some silicone and they came out like you see below!


I then sculpted the final head with a mixture of different colours of Sculpey, Premo and Fimo.
Everything but the brow has been baked in the oven. 
So the brow is unbaked sculpey feathered onto the top of the baked sculpt. (This is done so I can animate expressions!)

Here's the final look! This is taken from one of the close ups in my student film.


HOPE YOU ENJOYED THIS POST!
Here's today's picture of Buster…

I call it: 'Did you sey bisckits?'

Monday 5 May 2014

LET'S MAKE A TORTOISE PART 3 - THE SHELL!


HELLO!
Today I will be talking about making the shell of my tortoise!
So to start off, I created a very basic balsa wood structure for the front and back. 
I wanted the front to be detachable from the back, so the above design was actually held together by magnets.


I then sanded down the shape into something more shell-like, however I had to replace the magnets with K&S as there was no space for magnets once the shell was sanded down. :(


I then applied some milliput on the wood, allowed it to set and then did some further sanding with my dremel!


You may notice that there is a little lego gear inside this part of the shell, This actually moves up and down on a corresponding ladder piece that is attached to the hip inside. This was done so I am able to animate the shell bouncing up and down when he's walking (or doing anything for that matter!)

Here's the corresponding ladder 


I then sculpted with super sculpey firm on top of the miliput and balsa core. and came out with this!


Here is the FINAL front of the shell.
 To get this colour, I first sprayed it with a grey primer and then a browny-cream spray paint. NICE!


I also did the same process with the back of the shell. LOOKS LIKE CHOCOLATE!
mmmm.

Now you may think, 'SEAN, there's no rigging points to hold the character up when he's floating in the air!?!' Well, guess what!
There's a secret compartment!

I also created a little replaceable shell section that is magnetically attached so I can replace it with another exact replica, but with a hole in it!


TADAH! 
A rig will then go into this hole (with K&S inside) and the character will be able to float and jump to his heart's content!


 To finish, here are some images of how the two pieces go together!
The hip block is also attached to the shell with a piece of M3 rod with a nut on the end.


So that is how I went about making a detachable, replaceable and animatable tortoise shell!
SEE YA!

Here's this post's pic of Buster! Thowback monday!
I call it: 'nom, tasty door frame.'

Monday 28 April 2014

SET BUILDING!

Hello there! Today we are going to talk about set building!
Basically, my set this year is going to be a basic ramp shape, so I can get a smooth and clear colour for the background of my characters! 
EASY PEASY!


Above is a picture of the basic foundations that my set is built on, this was recycled from my set from last year.
(Picture below) Last year we had help from the TV and Film set design course to build our sets, so this one was actually constructed by students Emma Dorward and Megan Lambert.


So to start, I gently took the top off, and put it in a safe place.
 Now this year, the set needed to be a bit longer, so the sides were taken off and an extra couple of inches were added to each side. 


Here's a picture of my garage with all the pre-bought pieces of wood piled up!


For the new sides of the base,  A jigsaw was used to cut out a shape from a piece of MDF.


Here's what it looked like once attached. We do this in stop motion sets because we need to get under the floor of the set to 'tie down' the characters through a piece of M3 rod and a wing nut.


Another piece of MDF was then cut to fit on top of the base. This was tacked in place with nails as I used screws later on. 


Then, using the jigsaw once more, an additional two pieces of MDF were cut to support the curve.
See them at the back?
Then, on top of the curve a MASSIVE sheet of hardboard was added and screwed down. However, B&Q did not supply a size big enough for my set, so I had to add a little section on the end.
This did give a slight seam line, but once I transported this in to uni (thank god for my Dad's van) I filled in the seam with glue and polyfilla.  

I then painted it first with a white primer, and then with a blue gloss coat,
 Here's what the set looks like on camera!


BRILL! 
haha!

See ya'll soon!

Here's Buster's pic for this post!
I call it:
 I hate you all so much right now.