Monday 28 April 2014

SET BUILDING!

Hello there! Today we are going to talk about set building!
Basically, my set this year is going to be a basic ramp shape, so I can get a smooth and clear colour for the background of my characters! 
EASY PEASY!


Above is a picture of the basic foundations that my set is built on, this was recycled from my set from last year.
(Picture below) Last year we had help from the TV and Film set design course to build our sets, so this one was actually constructed by students Emma Dorward and Megan Lambert.


So to start, I gently took the top off, and put it in a safe place.
 Now this year, the set needed to be a bit longer, so the sides were taken off and an extra couple of inches were added to each side. 


Here's a picture of my garage with all the pre-bought pieces of wood piled up!


For the new sides of the base,  A jigsaw was used to cut out a shape from a piece of MDF.


Here's what it looked like once attached. We do this in stop motion sets because we need to get under the floor of the set to 'tie down' the characters through a piece of M3 rod and a wing nut.


Another piece of MDF was then cut to fit on top of the base. This was tacked in place with nails as I used screws later on. 


Then, using the jigsaw once more, an additional two pieces of MDF were cut to support the curve.
See them at the back?
Then, on top of the curve a MASSIVE sheet of hardboard was added and screwed down. However, B&Q did not supply a size big enough for my set, so I had to add a little section on the end.
This did give a slight seam line, but once I transported this in to uni (thank god for my Dad's van) I filled in the seam with glue and polyfilla.  

I then painted it first with a white primer, and then with a blue gloss coat,
 Here's what the set looks like on camera!


BRILL! 
haha!

See ya'll soon!

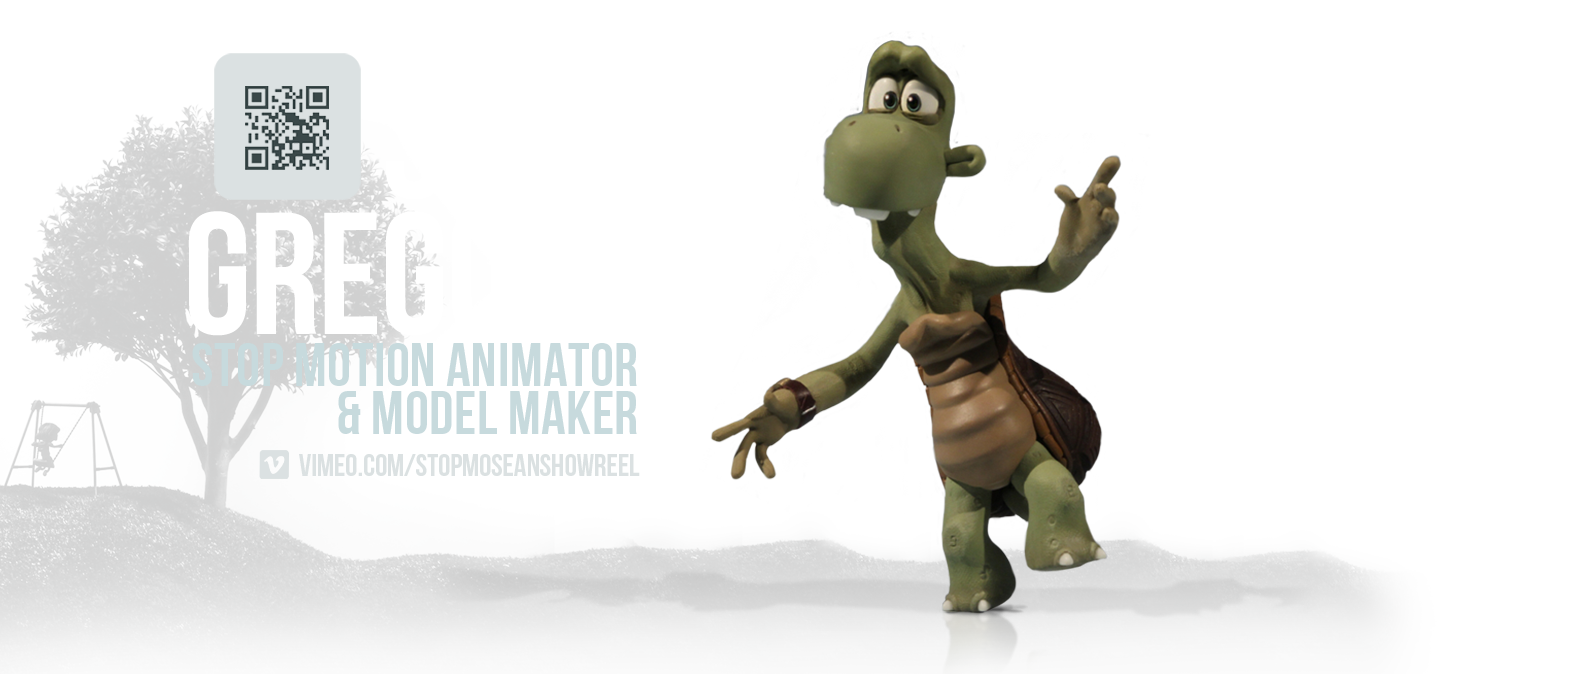
Here's Buster's pic for this post!
I call it:
 I hate you all so much right now.

Sunday 27 April 2014

LET'S MAKE A TORTOISE PART 2 - BODY SCULPT & MOULDS.


YO YO! Today I'll be talking about making the body of my Tortoise character!

Above is the very early roughed out sculpt for the body. Also, by this time, I'd created a basic shell out of balsa wood. The idea for this design is that I'd only sculpt the body down to the chest, as we won't see his torso at all in the animation! 
No point making things that aren't seen!


Above and to the right are images of the sculpt being a bit more finalised, this was not the final sculpt however, after I took a little break from sculpting, I realised that he looks like he's been hitting the gym a bit too much, so I decided to make him a bit less muscled. 
Also, the intention with the top of the neck was for it to work like a ball and socket joint, however I thought this design would not work effectively, so I changed it slightly, and also added a new joint coming out of the top of the neck, rather than the K&S that you see in this picture.


Here's the final sculpt all clayed up. I decided to make the hands replaceable, but use the same mould.
This was simply to save time, as If I made a separate mould for the hands it would just double the work load.
 I  would normally recommend the hands and body to be done separately, but for me, this worked effectively, and seeing as at uni you're constantly against the clock!


As always, I painted and poured plaster onto of this clayed up sculpt, and I came out with this!


Here's the first part of the plaster mould with plasticine shapes added on top. This is so when the second half of the mould gets created, there will be holes (where the plasticine was) to prize the two halves apart with.


I then padded out the ball and socket armature that goes inside the body and applied the silicone inside the mould (in the same way as shown in the previous 'Leg Mould' post, shown here:
http://seangregoryanimation.blogspot.co.uk/2014/04/lets-make-tortoise-part-1.html#gpluscomments

Here's the result when I opened the mould!


I then took the subjects out of the mould and trimmed the seamlines, and created a very basic head to go on top. Here's the body and the basic head (don't judge the head sculpt, it was just a test!!!)
Anyway, more on the final head sculpt next time!


And as always, Here's this post picture of Buster!

I call it 'cute little demon puppy'

Wednesday 23 April 2014

LET'S MAKE A TORTOISE! - PART 1


HI THERE CHUMS!
In this post, I will show how I went around the process of creating a Tortoise!
Here's the concept above!


Firstly, working alongside Malvern Armatures, a the ball & socket armature was created, based on a drawing of the front and side view of the tortoise.


Once this was done and received in the post, I then set off with the sculpting! Here are the legs and body in the very early blocked out stages :)

As always, I sculpted in Super Sculpey Firm. 


Here are the final legs of the tortoise, all clayed up and about to have plaster poured on to them! YAY

Sorry about the flipped photo!
let this one slip somehow...
Those of you who are observant, (which is all of you, well done, A*) may have noticed that the sculpt has little white toenails!
These were simply created in sculpey, baked and sanded. I then created a simple one part silicone mould around the sculpt, let that cure, and then I poured some Polyurethane resin into the mould, did this four times, which then gave me four completely identical toenails! WAHOO
Here's the mould (If you're interested)


Here is the mould with the first layer of silicone inside.
What you might notice, Is that the silicone's colour changes toward the bottom, this was a design choice, I wanted the colour on all of the tortoise's limbs to kind of descend into a brownish green. 

I've wanted to shade silicone with different colours for a long time now, preferably with a spray gun.  As we know, skin is never just one colour, but seeing as this spraying technique is not 100% accessible to me at this time, I had to simply paint the colours in.


I then padded out the leg armature with a bit of upholstery foam. I fashioned the foam into the basic shape of the leg, making sure it was a little smaller than the original sculpt itself. 
To assure maximum control over the armature, I also wrapped the joints (underneath the foam) in PTFE tape. This was to stop any silly silicone getting into the joint and messing up the animatability!


Here are the legs out of the mould, one with the plastic resin toe tails, and without.
Here the seam lines were pretty visible, but I did some extra seam removal and they ended up like the feet you see below!


To achieve this, I applied a very thin layer of silicone on top of the leg with a sponge-like material, this allowed me to further shade the limb. Then, along the seam line, I applied a slightly thicker layer of silicone, so any raise or crevice was erased. 
Then, as the silicone cured and because tacky, I covered it in a light layer of talc and used sculpting tool to apply the predetermined texture.
I imprinted the texture onto the silicone that was curing and with a little luck, The seam line was gone completely! WAHOOO!
I then simply stuck the toenails into their sockets with some superglue and who's your uncle? 
BOB, THATS WHO.
And that is how to make tortoise feet out of silicone!

Also, as promised, here's this post's picture of my doggy.
I call it, 'Can I haz biscuits'

Sunday 20 April 2014

MAKIN' GLASSES, MAKIN' PLASTIC GLASSES.

Helloooo

Today I'm going to be talking about making my character's glasses out of plastic resin, using a two part silicone mould!


Firstly, I hand sculpted the glasses' frames in Super Sculpey Firm and then baked it in the oven. Then, similarly to my plaster mould making, I 'clayed up' the sculpt using plasticine. 
For moulding keys, I used some large bolts that were hanging about in the garage, with a plastic bead on top. This would allow the two sides of the mould to fit together perfectly.

Once I boxed the mould in, I poured mould making silicone on top of the clayed up glasses and allowed it to cure.

If you'd like to try this yourself, here is a link to where I got the silicone (and most of my other model making materials) from…


Pictures are a tad scarce at this point as I was concentrating, but basically, once the first part of the mould was cured, I boxed it in once more and sprayed a silicone release agent on the first layer of silicone. Here's the spray:


I bought this from Tiranti.co.uk: a brilliant website for any sculptors and model makers!
This spray stopped the two sides of the silicone mould from sticking to each other.
So here's the final two part mould:


I injected the mould with some plastic resin, mixed with white pigment, and here is what came out!


TAHDA!

For the arms, I then bought some cheapy, white reading glasses from the WONDER that is POUNDLAND.


Here's a pic of the glasses (mine were white though). Using these glasses, I cut the arms off and heated them up with a lighter. I was then able to manipulate the plastic and mould it into the shape I wanted. Some extra filing and sanding and they were good to go!

Here's a pic of them stuck to the frames I made earlier 


I opted for a black frame, I thought it would look better.
The arms just needed some black spray and then they were ready to go! YAYYY

That is enough for one post!

Here's today's doggie pic:
I call it 'whut'

BLOBBY BLOB MOULDS!

Hey there! I have 5 minutes whilst I wait for a mould to set, so I think its time to update ya'll!
Today I will be demonstrating how I created the Blobby Blob's body mould.


Firstly, I baked my sculpt in the oven. This isn't advised as when you're creating a plaster mould as you need the subject you're moulding to be soft. However, when sculpting, I could not for the life of me get the blob's head section perfectly round when soft, so baking the sculpt allowed me to sand everything down with wet and dry paper to get a smooth finish. 

I was lucky with this design due to it's simple shape it just popped out of the plaster mould easily.


Here are a couple of images to show different stages of sanding, I also sprayed the sculpt with primer to get an even texture.

Here is the body in the process of 'claying up' 


THAT'S A HECK OF A LOT OF PLASTICINE I HEAR YOU SHOUT.

Well here are some close ups!


I then added some injection points using the top of a syringe and a cocktail stick. 
This is where I will inject the silicone when I get on to that!


Boxing in… nice clean desk right… 

I then poured the plaster in the box.


Here's are the two sides of the blob's mould all done!


I wanted the arms and legs to fit inside the body, so to do this, I created miliput versions of the top of the arms and legs, attached to some K&S...

Below you can see what they looked like…


The theory behind this, is that when the K&S and miliput is removed, there will be perfectly shaped holes for the arms and legs to just slot into! YAY!


It worked! and here's the final thing! Hadn't cleaned up the seam lines here, but you get the idea!


That's enough for ONE POST!

From now on, I am also going to end each one of my posts with a picture of my dog.

Here's todays!

I call it 'ehh?'